
Creating your first client and site
In Surfacely, work is organised as Client → Site → Building. The client pays the bill. The site is the address. A building is a paintable structure at that address — and a single site can have several (house plus granny flat plus garage, for example).
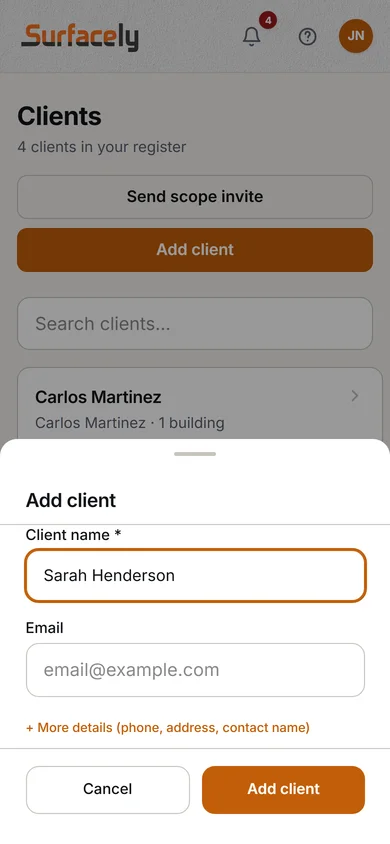
Create a client
From the Clients tab, tap + New client. Enter their name, email, and mobile. That's it. Everything else — site, building, quotes — attaches underneath.
Add a site
A site is a real-world address. Use the address autocomplete so Surfacely can pull the geolocation — that lets future features like travel time and route planning work. If the address already exists in your system (because you've quoted a neighbour), Surfacely will match it automatically.
Add a building
Inside a site, add one building per paintable structure. Give it a short name (e.g. "Main house", "Garage"). The building is the unit measurements, quotes, and photos all attach to.
Why it matters: this three-level structure means you can quote a repaint three years from now without re-measuring. Every surface you scope becomes part of the building's permanent register — next visit, you just update the condition and re-price.
Tip: you don't have to set up clients first. The "Start a project" wizard does all three in one flow — client, site, building — when you're quoting someone new. Use the Clients tab when you want to add a returning customer ahead of the job.